
Tasty and convenient, this diy cold brew concentrate is one of my favorite ways to caffeinate! It’s more flavorful than hot coffee, and, in my opinion, the homemade stuff tastes better than most brands you’ll find at the store (or at Starbucks).
Why cold brew?
Cold brew is convenient, versatile, and much more flavorful than Hot or iced coffee. This DIY cold brew concentrate can easily be mixed with ice, milk, or whatever else you would like. You can even make cocktails with it. It’s stronger and contains more slightly more caffeine than drip coffee.
Nutty, earthy, smoky, fruity…every subtle flavor note of your coffee comes through loud and clear. Brewing the perfect cup of hot coffee (and drinking it at the exact right temperature) can be tricky, so I usually like to leave that to the professionals. Brewing perfect cold brew makes it easy.
This DIY cold brew concentrate Is a total game-changer because it’s
- Convenient-just pour and go!
- Quick and easy to brew
- More flavorful than hot coffee
- Slightly less acidic than hot coffee
- Less bitter than hot coffee
- Loaded with caffeine
- Inexpensive to make (about 25%-30% of the cost of store bought concentrate, such as Chameleon)
Making it delicious
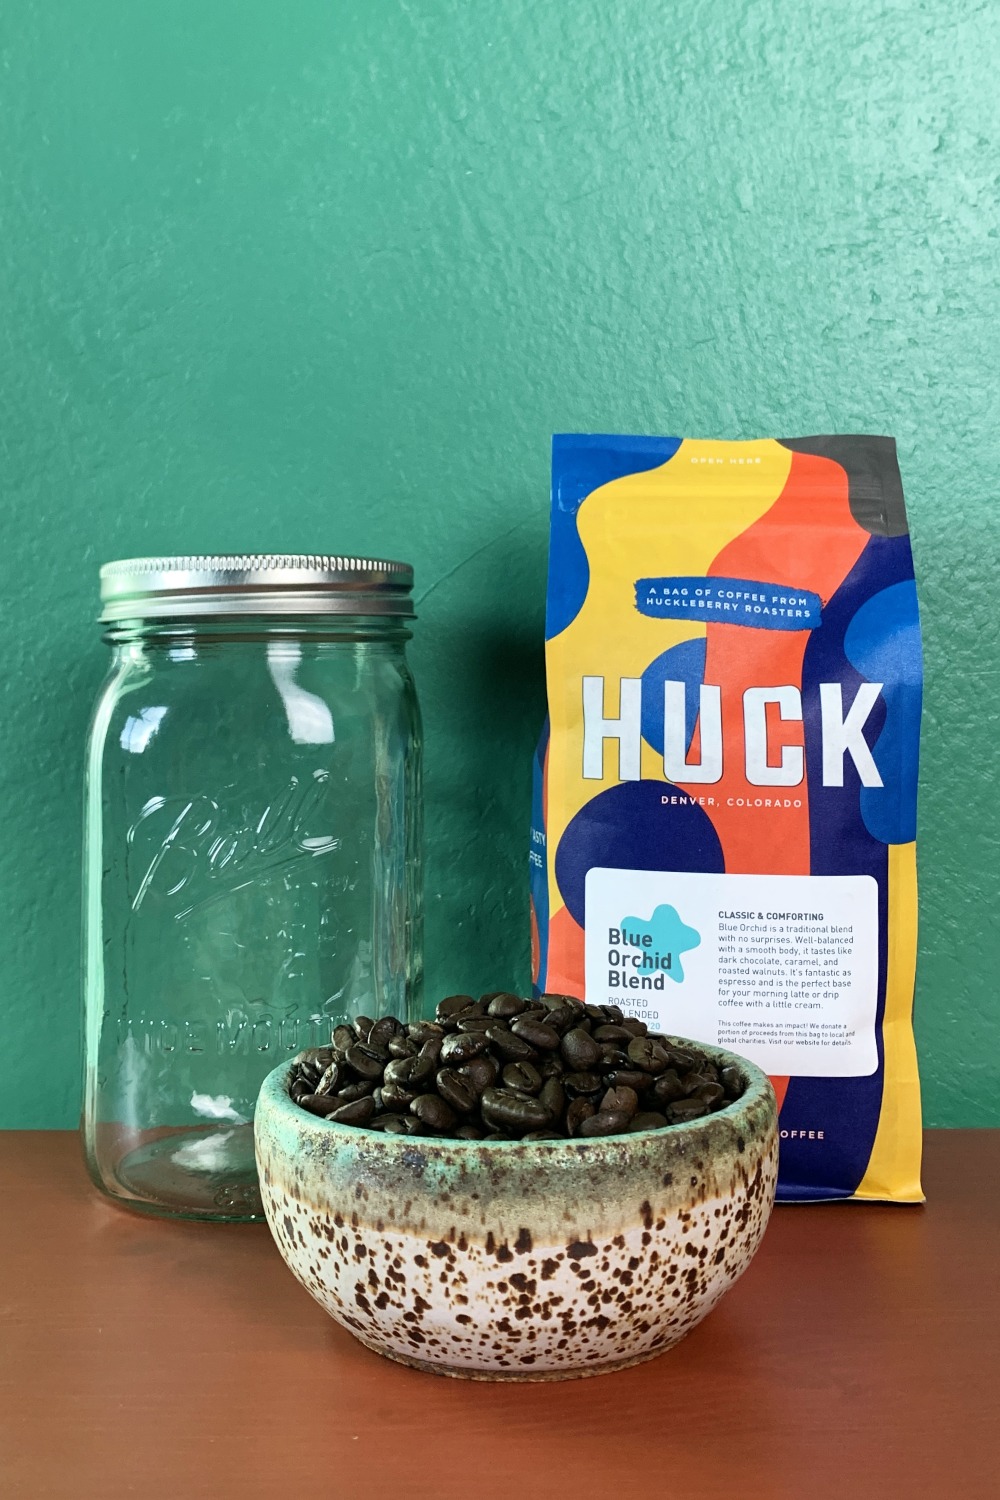
Start with a good quality coffee and filtered water! There’s no point in being able to taste all of the coffee’s flavor if the main flavors are iron and chlorine. Buying the freshest coffee possible and grinding your own beans is ideal. Try finding a local coffee shop that roasted their own beans or purchases their beans directly from a local roaster. If you don’t have a coffee grinder, you can still buy whole beans and grind them at the store or ask the coffee shop/roaster to do it for you.
If you are interested in buying a coffee grinder, here are some options for a simple coffee grinder as well as a nicer burr coffee grinder with multiple settings.
As for the coffee, if you are going with a common grocery store brand, I highly recommend Kicking Horse Kick Ass Dark Roast or anything from Peet’s Coffee, especially their Big Bang or Brazil Minas. The only Starbucks roasts I’ve had any luck with are Sumatra (dark) and Veranda (light), and I pretty much only buy those when there aren’t any other brands on sale.

Brewing DIY Cold Brew Concentrate
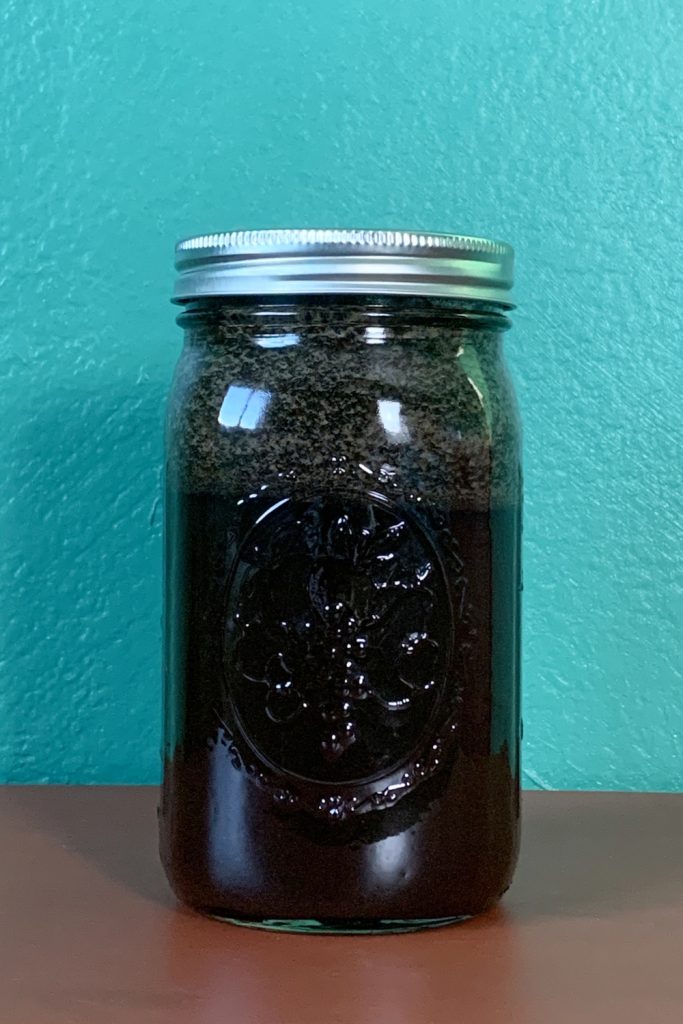
The brewing process is super easy. If you’re using a quart sized jar, add coarse ground coffee beans to the mark, then fill with filtered water, leaving a 1.5 inch gap at the top. You’re aiming for about a 3:1 water to coffee ratio, so keep that in mind if you’re using a container other than a quart sized jar.
If you are using a different type of container, I would suggest weighing your coffee grounds the first time you make cold brew, in order to streamline the process. That way future batches will just require you to set the brewing container on the scale, press “tare” to zero it out, add the appropriate amount of coffee grounds, then top with water.
Steeping DIY Cold Brew Concentrate
Once the coffee and water have been added, let the mixture rest for 15-20 minutes before putting the lid on and giving it a light shake. The coffee grounds float to the top during the resting period, then settle after it’s shaken. Refrigerate and let it steep for 36-48 hours.
I’ve seen a lot of cold brew instructions online that say steeping for more than 24 hours is completely unnecessary and may affect the quality of the cold brew. The idea is that the water will have absorbed anything good out of the coffee at a certain point and start to become bitter. I’ve even seen the recommended steeping time listed as low as 10-12 hours.
As someone who has been making their own cold brew for over 5 years, I can tell you with absolute confidence that 24 hours isn’t long enough. I’ve tested this enough times to be certain, but if you have doubts, test it for yourself. Make DIY cold brew concentrate following the instructions in my recipe, but taste a small amount at 10 hours, or 18 or 24, or strain a little off at each point and keep it in your fridge to try each version side by side once the batch is fully steeped.
Perhaps using a 1:1 ratio of water to coffee instead of 3:1 would be excellent after 10 hours, but who can afford that?
Straining DIY Cold Brew Concentrate
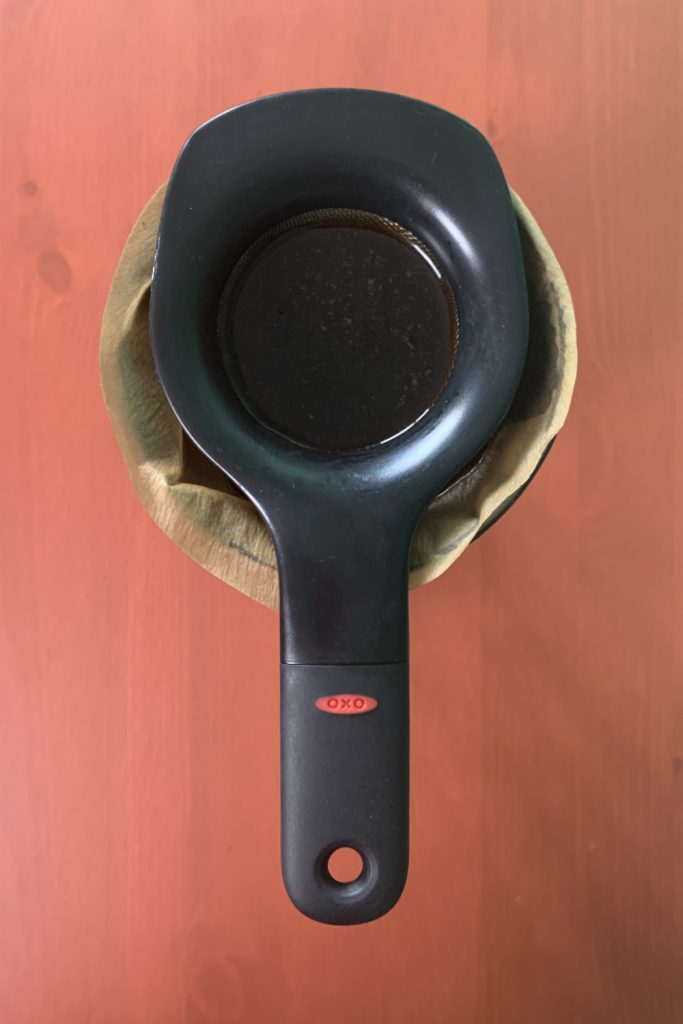
Straining the brew will take around 5 minutes, depending on your equipment. I use a paper filter and coffee cone with a mesh strainer over the top to catch a majority of the grounds, helping the paper filter drain more quickly. I would not recommend using just a mesh strainer by itself since the finer particles of grounds will fall through and make your cold brew cloudy, with a bit of sludge towards the bottom of the container, making the last 4-6oz or so unusable.
If you plan on making diy cold brew concentrate regularly, I would suggest purchasing a #2 or #4 size coffee cone that takes paper filters. If you prefer ceramic, there are a ton of great options available on Etsy.
DIY cold brew concentrate stays fresh for about a month in the fridge. It can be kept longer than a month (as long as no mold develops), but the flavor may start to deteriorate over time.
If you try this recipe, or if you have any questions, please let us know in the comments, and don’t forget to tag us on social media at @we_make_pretty! For other morning delights, check out our Veggie Tofu Scramble and Chocolate Cherry Adaptogen Smoothie!
DIY Cold Brew Concentrate
Equipment
Ingredients
- 1 Cup Coarse ground coffee (see note)
- 3 Cups Filtered Water
Instructions
- Combine fresh ground coffee and filtered water (3:1 ratio by volume, leaving 3/4-1 inch head space) in a Ball jar or other container with lid. Seal lid and shake for 10 seconds.
- Loosen lid and let rest for 20 minutes.
- Tighten lid, shake, then let rest for 36-48 hours in the refrigerator.
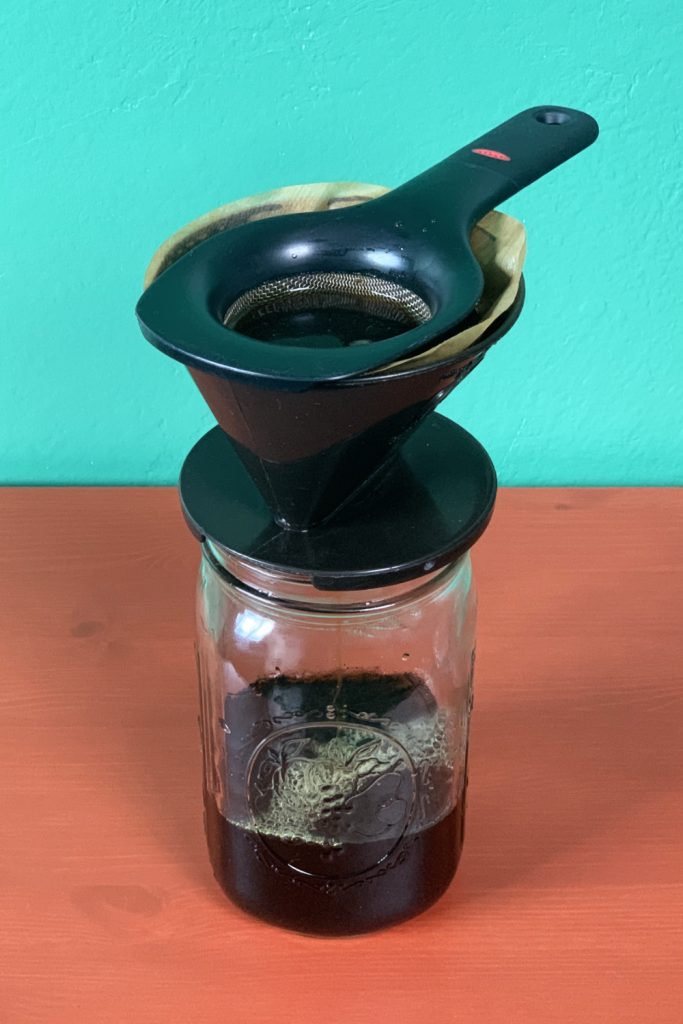
- Once the coffee is full steeped, place coffee filter in cone with mesh strainer on top. Gently pour the cold brew into the starainer/filter combo, being careful not to dislodge the grounds from the bottom of the steeping jar.
- Once all the liquid has been poured off, let the jar rest for a few minutes. As additional cold brew starts to separate from the grounds, pour the liquid off once more. Finally, give the spent grounds a light rinse with about an 1/8-1/4 cup of filtered water to flush out any remaining cold brew from the grounds, then pour the liquid over the filter one more time.
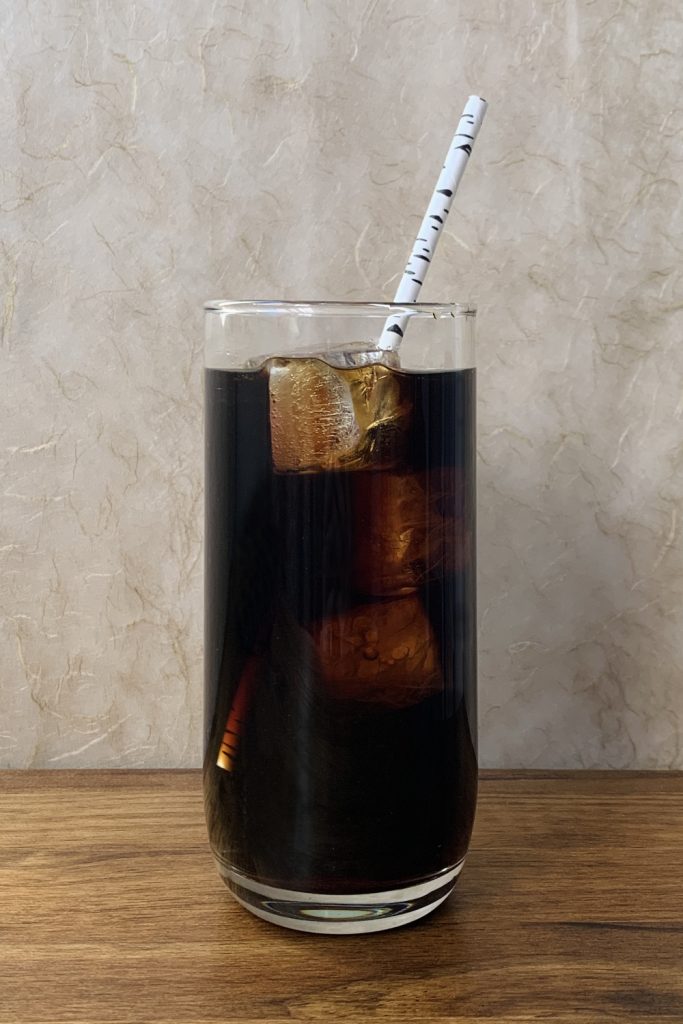
- Put a lid on the jar and store in the fridge for up to one month. Serve black over ice or mixed with your choice of plant milk.
Notes
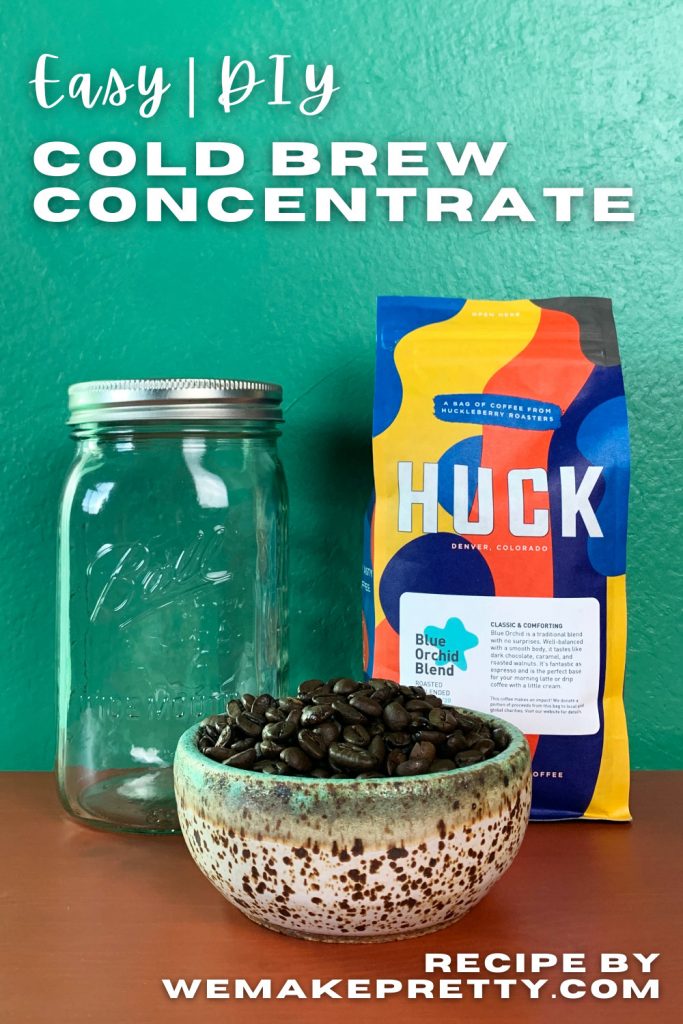
Pin for Later
One thought on “Easy DIY Cold Brew Concentrate”